
The ill-fated hairspray technique
The hairspray technique is one that I kind of like, although it was difficult to get the hang of. I probably did something wrong, so I recommend checking online tutorials if you’re interested in trying it. It can end up looking REALLY cool though if you do it right.
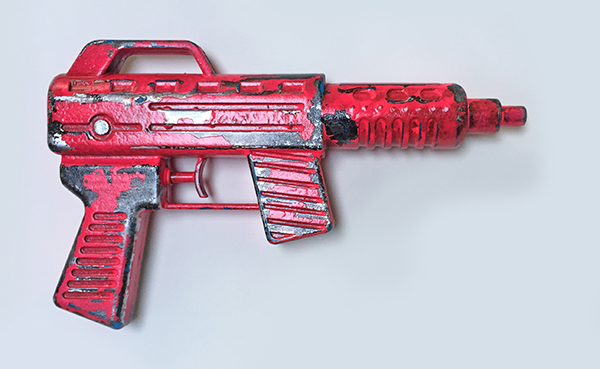
This technique makes it look like a layer of paint has chipped off the gun. You’re going to want to start with the under layer first. You probably want this to look metallic, as if the gun had a layer of enamel paint over the metal.
Go through steps 1-4 as normal. When you have your under-layer looking how you want it, spray it with sealer. We don’t want any of this under-layer coming off.
Once the sealer is dry, take a can of hairspray and cover the gun in a couple coats. If you don’t have any hairspray, you can get some for pretty cheap. Check out the travel-sized toiletries section of places like Target. A lot of times you can find a miniature spray can of hairspray for a dollar or two.
Now take whatever color paint you want the top coat to be. I recommend using a spray paint for this because you don’t want to wipe off the hairspray while you’re painting it on. Make sure you’re not using a Rustoleum spray paint or anything that’s intended to seal against moisture, since that’s going to make the next step REALLY hard. Ask me how I know.
Once the top coat is dry, take a cup of water and a stiff bristled brush. Drip some water on the gun in a place you want to weather, then wait for it to sink in. The idea is that it’s going to dissolve the hairspray layer, which will loosen the top coat of paint. Don’t wet the entire gun, since you don’t want all the paint to come off. Just do a little at a time.
After a minute, take the stiff brush and brush vigorously at the paint until it starts to chip off. It might be slow at first, but work at it.
This is the step where I started having problems. It was very hard to get the top layer of paint off, possibly because it was keeping the water from penetrating to the hairspray. My stiff bristled brush didn’t do anything. I tried sandpaper, which kind of worked but also took the metallic layer off in places. I had the best luck with using a razor blade and peeling the paint off with that. Of course, be careful with this. You don’t want to cut yourself, and also you don’t want to take the bottom layer of paint off.
Once you’re satisfied with the amount of flaking, seal the entire thing in spray sealer to make sure the hairspray can’t dissolve anymore. Then continue with step 5 onward.
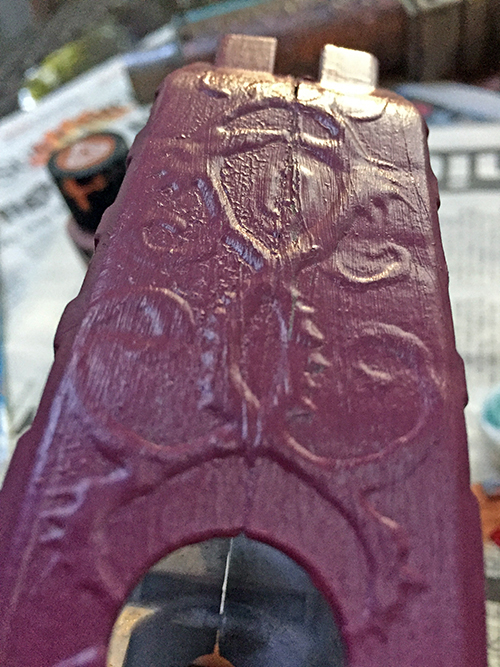
On my third try with the hairspray technique, I decided to try regular acrylic paints instead of spray paint, since I would have a greater flexibility in mixing my own colors and also I thought it would make it easier to dissolve the hairspray through it. This was true, to an extent, but the end result was very ugly. The benefit of the spray paints was that they settled onto the surface in a mist, leaving the hairspray undisturbed. In contrast, brushing on the acrylic paint softened the hairspray to a slimy coating, which mixed with the paint, making it gooey and thick. This left visible brush marks on the surface, and when it dried, the finished surface was puckered and cracked. It was incredibly easy to peel off with just my fingernails, but the paint came off in long, gummy strips instead of hard chips, which didn’t have the same effect of the gun being battered through the years. Despite all that, it would have looked okay on the parts of the gun that had a lot of surface detail, since that disguised a lot of the ugly bubbling paint, but on the smooth, flat surfaces, it looked messy. I scraped all of that off and decided to abandon this technique entirely. Unfortunately I didn’t take pictures of the process, since I was so disgusted with it.
And finally: Resources
First, I’d like to recommend Jen’s tutorial on Epbot, which is one of the things that inspired me to try this in the first place. Her website is a treasure trove of steampunk crafts, but this one in particular is a cheap and easy introduction.
There are also a number of tutorials on YouTube, of course. Search for “weathering technique” or “hairspray weathering”, and don’t be afraid to check out videos on completely different crafts, like railroad model building, gunpla painting, or Wargaming terrain and miniatures. A lot of the techniques are the same, no matter what project you’re working on.
How to Steampunk Anything: a beautifully shot video that goes through roughly the process I did, to the tune of Clair de Lune.
Steampunk Blaster Tutorial: this Australian DIYer shows how to mod a Nerf Rebelle Charmed Dauntless. If you’re particularly interested in dry brushing, this is the video to watch.
For three specific metal effects, check out It’s a Trap!’s videos on brass, iron, rust, and copper.
And finally, here’s someone who does the hairspray technique much better than me.
Have fun with your crafting! If you make a steampunk weapon (or jetpack or costume) we would love to see pictures! Email us or post in our Facebook group.
—Lindsay Davignon, website coordinator and arts and crafts enthusiast
