Construction and Fit
Today I’m going to show you how to put the garment together.

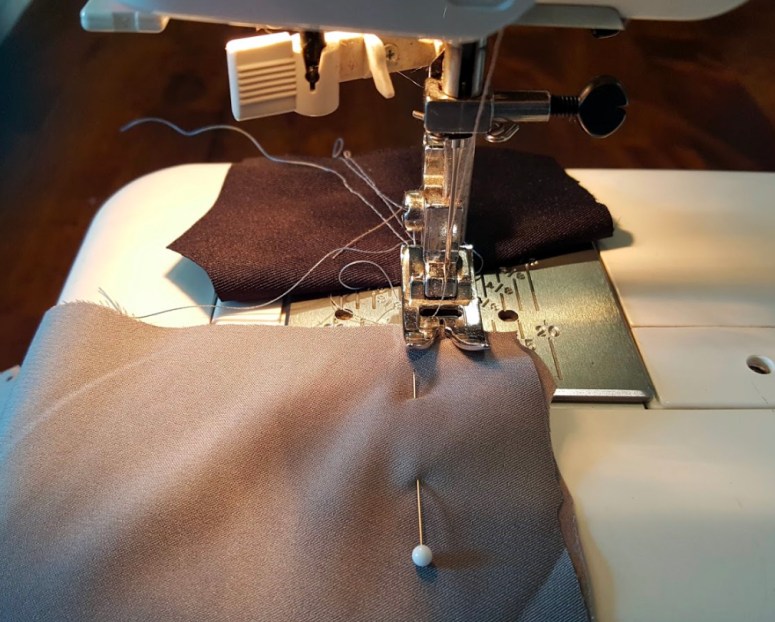
Here I have pinned up the side of the sleeve with the armhole so I can sew a tube for the elastic. On my machine I have taken off the detachable part so I can sew the round object.
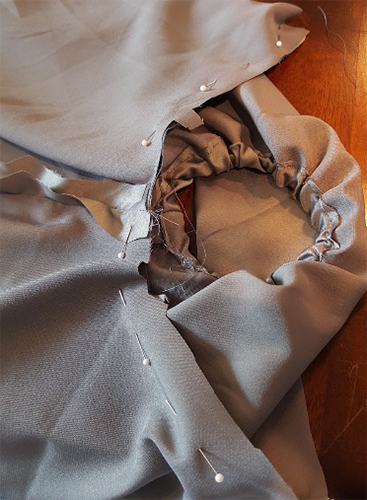


My new best friend during this project: the safety pin. Makes it so much easier considering I need to thread elastic about a total of 10 times… you’ll see.
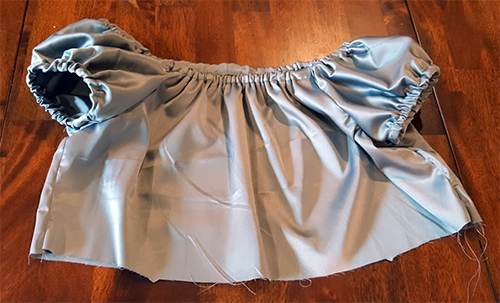
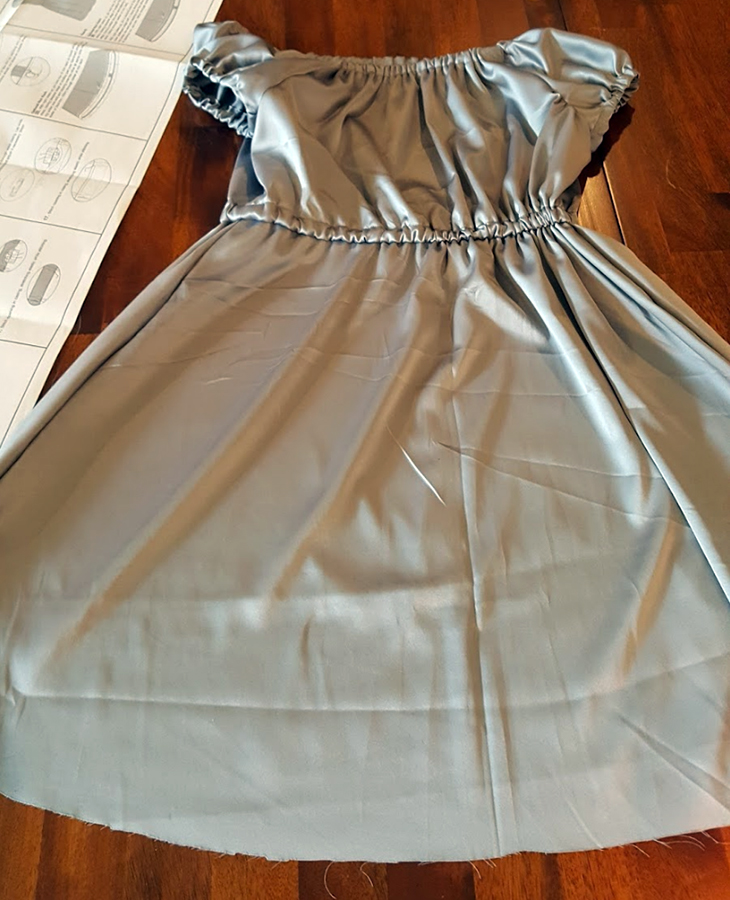
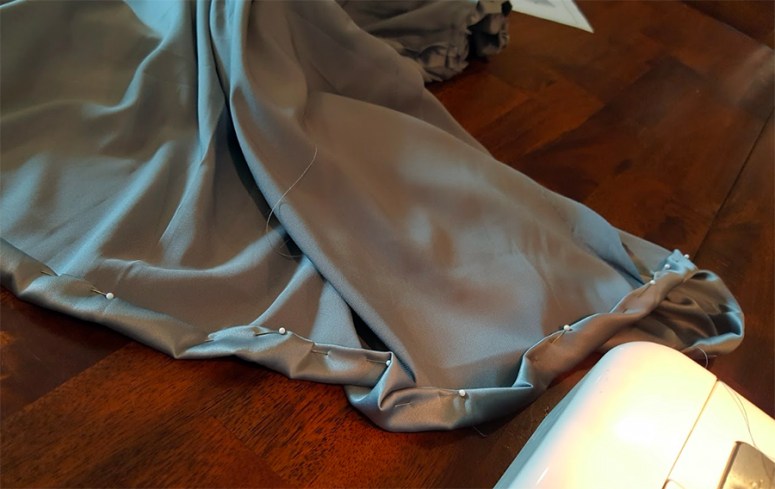
Now we are going to make the skirt. I will sew up the sides.


I need to now make a tube for the waist of the dress so I have pinned everything again after sewing the skirt with enough room to sew it again. This time closer so we can make the tube.
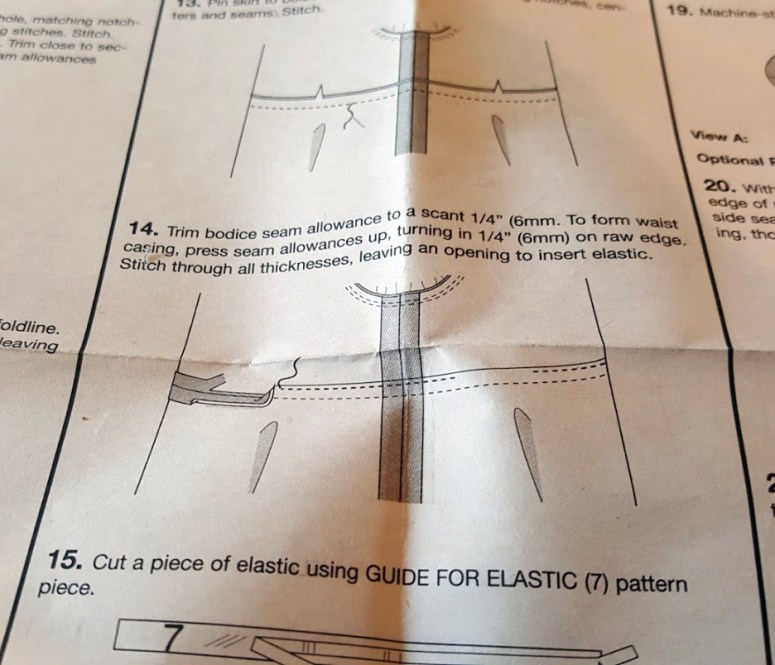
My friend the safety pin is back so I can make an elastic waist.


First part of the corset. I need to iron the interfacing to the fabric for structure.


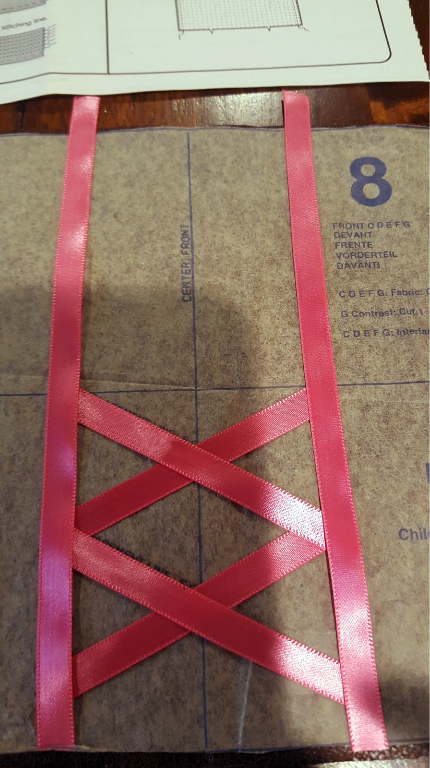
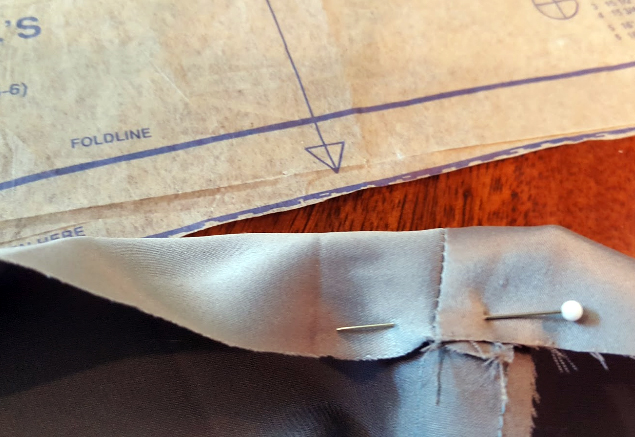
Next step is to put on the ribbon strip to make it look like there are some corset lines.

I lay out the pattern and cut them out accordingly before sewing them on. The pattern is transparent enough where I can line up the ribbon on the pattern without needing to make marks on the fabric, and can double check to make sure what I have sewn is in the right spot.


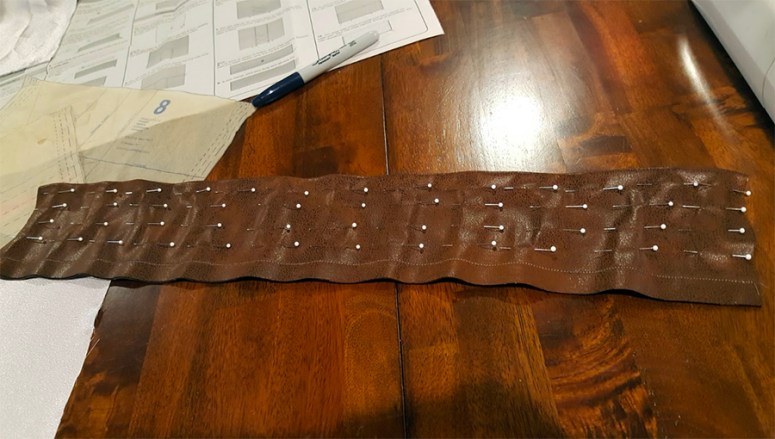
Here I have the back of the corset. I have lined up all the pins in a straight line very carefully as a guide so I can sew on these lines. This is so we can thread a whole bunch of elastic through multiple tubes.

Now to attach the cool skirt overlay to make it complete.
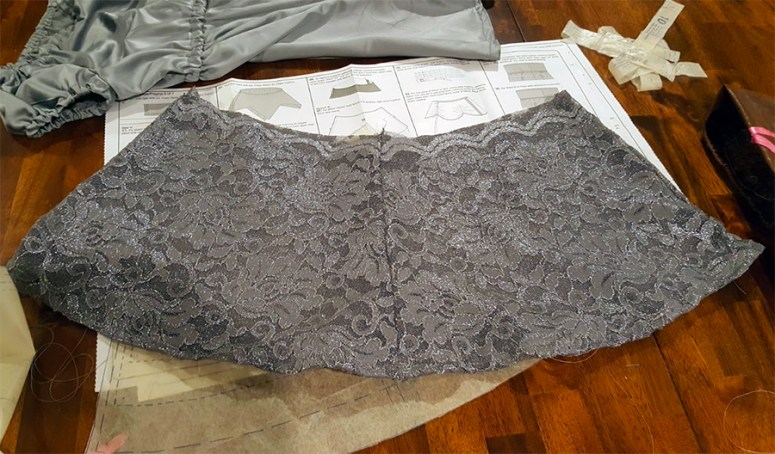
This is the skirt part for the overlay. I will attach some leather-like ribbon to give it some styling and then attach it to the corset.

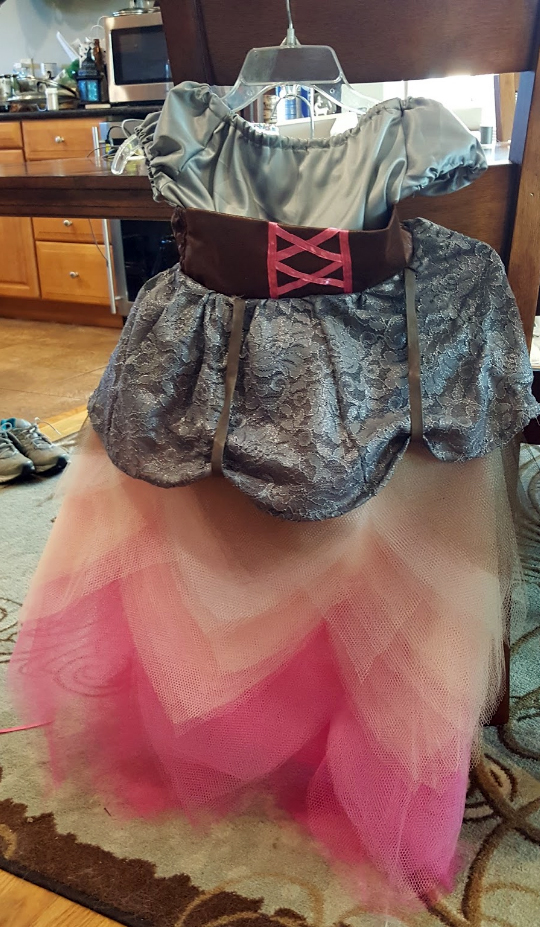
And we have a cute and simple steampunk dress. I could stop here, but my little Bean wants a Steampunk Princess Dress and did request pink. I don’t think that’s enough pink. So let’s make the tulle skirt next

I’ve already cut the tulle, and now need to pin it and sew together the sides. SEVERAL sides. If you have never worked with tulle before, just know sometimes it’s not a cakewalk. It can get tangled and rips easily. It’s cute on tutus and other kids’ costumes, but seriously just stay away from it if you can…

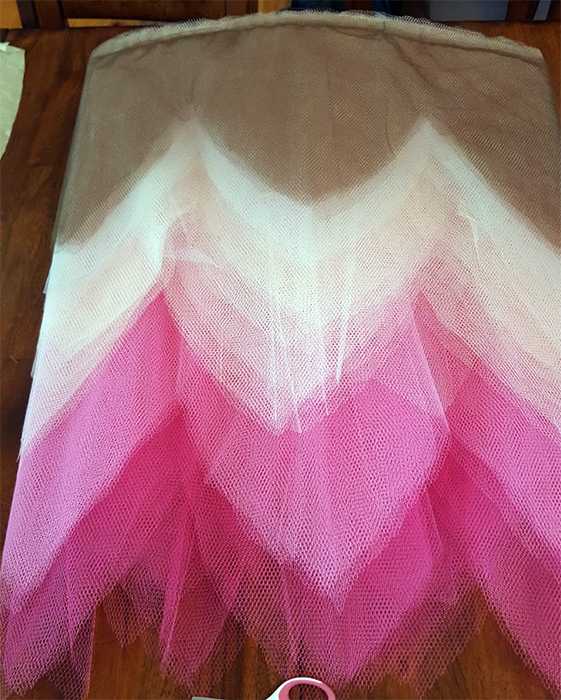
Trust me, you didn’t want to see the frustration I went through trying to put this together. Soooooo many layers of tulle… But darn it, it looks good.
Now to cut out a waist and attach the skirt and then string—you guessed it—another elastic.

DRUM ROLL PLEASE……………..
Now to accessorize.

We will have a few more blogs coming up by some fellow steampunkers to show you how to make a steampunk ray gun and jet-pack. Ooooooh! If you don’t want to make a costume and don’t need accessories, don’t worry! We have plenty of vendors who will be around that day to dress you to the steampunk nines.
As soon as I finish Steampunk Batman, I promise to post it on our Facebook page and social media websites. So stay tuned and check in with Jewelry City Steampunk Festival on Facebook often. Steampunk Batman will also be at the festival, so make sure you stop by and say hi on October 28th 2017 in Attleboro, MA!
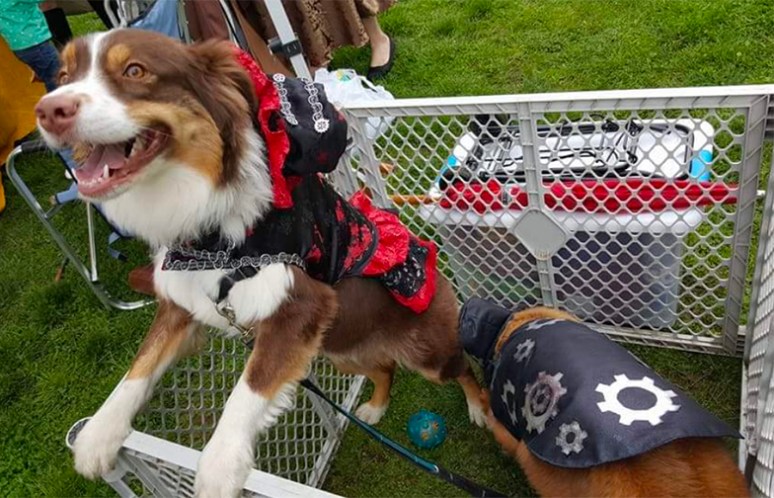
In the meantime, enjoy these pictures of my dogs Amber and Porter in their steampunk costumes. Until next time, have fun creating your steampunk attire! See you at the festival.